Monday, October 15, 2012

{KCWC Days 5 & 6 ~~ Footie Pajamas}

On Days 5 & 6 I managed to sew for about 1 hour each day and finished off one pair of footie pajamas for my son.  I had hoped to make two pair but I guess it was not ment to be.


This is a pattern I drafted myself when I realized that he had grown out of all the knit footie pajamas I could find.  Due to his eczema footie pajamas work the best, year round, not to mention this kid won't sleep with a blanket covering him.  All of commercially available footie pajama patterns were just too wide so I realized I would have to make my own pattern, for the first time.  This pattern was a work in progress most of the summer with several improvements needed each time.  They are a bit big on him, nice and comfy, but so big they fall down off the ends of his feet when he walks. 


 I also made "hand covers" attached to the sleeves to help with the night time scratching, which seems to be the worst for him.  They are really just like the little mittens on newborn clothing :0)  His hands are free before bed time so he can play and read books.  At bedtime they are simply flipped over so he can not inflict damage on himself during the night.  They work great!

Hand Out, Hand Covered
Not the best picture but hopefully you get the idea.


Originally I used to knit (jersey or interlock) to make these since the weather was warmer.  I found some crazy soft microfleece and new they would make great winter pajamas.  I added a bright green zipper, rib knit collar and bias tape around the wrists.  I really like how the grey and green look together.
 
I hit a wall on Sunday and just couldn't make myself get to the sewing machine but after a day away I'm ready to take on one last project today, lined wool trousers...wish me luck!

Thursday, October 11, 2012

{KCWC day 4 ~~ Upcycled Hoodie}

I'm so excited that I finished my day 4 project before my son went to bed and it was even still light outside!  Today I made a zip front hoodie from a men's XL hooded sweatshirt and lined it with flannel from a men's XL work shirt.  The colors matched perfectly and the flannel gives it just a little more warmth for the cool morning and evenings this fall.
 

I had never upcycled a garment like this so it was kind of new territory but I loved it.  The flannel lining made it a bit more of a challenge but it all worked out.  I used a McCalls pattern to cut out the pieces.  I did leave the ribbing on the front, back and sleeves which made the construction go a bit faster and the result was still great.  I used the front pocket from the original sweatshirt so they didn't match up exactly but honestly you don't notice when he's wearing the jacket.  One thing I messed up on was cutting out the sleeves, I cut two left sleeves so had to do a little patching to get a right sleeve.  I didn't have enough material left to cut another one.  Fortunately the patch is barely noticeable and is hidden under the hood most of the time.  The hood I cut down from the original hood as well and was even able to use the metal grommets.  The biggest problem I had with the construction was the thickness of the seams.  Two layers of sweatshirt fleece plus two heavy layers of flannel was about all my serger was able to work with, add a layer for the pockets and the seam allowances were just too much for it to handle.  My sewing machine did a little better but was protesting by the end as well.
 
 
I added a little pocket with a freezer paper stenciled M on the sleeve just to give it a little personalization.  I already had a blue zipper so I thought the blue pocket tied it in nicely.  I also did some top stitching in the navy blue.  I did do a zig-zag stitch around the hood (in yellow) but the thickness caused the stitches to be uneven, if I had it to again I would have used a maroon thread for that so it wouldn't stand out so much.
 

Wednesday, October 10, 2012

{KCWC Day 2 & 3 ~~ Black Cats}

 
It's that time of year again, time to make Halloween costumes!  For the last 2 days I have been busy making black cat costumes for my nieces.  Last week I made two more black cats for a friend.  I feel like I have just produced a litter of black cats!  The fun part is that all 4 cats will probably go trick-or-treating together.
 
A Black Cat with Green Accents for the 3 year old.
 
 
A Black Cat with Pink Accents for the 8 year old.

 
For these costumes I used black panne fabric that I have had for many years and layered it with fleece.  The fleece layer was done for two reasons.  First for warmth, here in Colorado Halloween is usually pretty chilly if not down right cold.  Second was to give the costumes a bit more shape.  Panne is a very stretchy, soft and flowing fabric so the fleece gave it some body as well as made it easier to work with. 
 
The two I made last week and the pink cat are all the same size. I used an old pajama pattern (think 1996 Simplicity) for the pants and the top.  I did need take the top in quite a bit on the sides and then added the hood with ears.  The lining of the ears was done in satin.  I also added a pocket on the front to keep the hands extra warm.  The green cat was made the same way but I used different patterns. 
 
For the tail I used a jumbo chenille stem.  I found a 6 foot piece at my local Michael's and knew it would make perfect cat tails.  The big cats have 18 inch tails and the little cat has a 12 inch tail.  On one end I hot glued a piece of felt that I had put a button hole on.  The other end I covered with an approximately 5 inch tube of satin fabric and hot glued it in place.  The tail buttons right onto the seat of the pants.  
 
I completed the look with some cat paw gloves, satin ironed on to knit gloves with heat 'n bond then sealed the edges with fabric paint.  For the little one I made cat paws on mittens the same way.  All four cats have collars made from grosgrain ribbon with snap closure and a star shaped "tag" with their first initial embossed on it.  I origionally wanted to make the tags from gray or silver Sculpey to look like metal but someone had bought the store out of those colors but I found a great replacement, especially for Halloween, glow in the dark Sculpey.

Black Cat with Blue Accents and  Black Cat with Purple Accents
 

Now if my almost 6 year old son would just make up his mind about what he wants to be.  Every day he comes up with several different ideas :0)


Monday, October 8, 2012

{KCWC day 1 ~~ Slippers}

Fall has finally arrived in our neck of the woods and winter even snuck in for a few days this last weekend. It's time to keep those toes warm!  I decided to make slippers for my son without a pattern.  I did use this tutorial from Made By Rae as a starting point but changed the look quite a bit.  In the end, after lots of trial and error, I ended up with a decent pair of fleece cross-over slippers.

 
My original vision did not include the elastic around the ankle but they just would not stay on without it.  I tried just a bit in the back but that wasn't enough either.  I added 2 snaps to help with the fit as well.  I really liked the look of them without the elastic but they don't do much good if they won't stay on the feet :0)  Because the bottom was also fleece and we have slippery hardwood flooring I drew a design with fabric paint to help them become a non-slip sole.
 
Last year I bought some faux suede/sheepskin fabric with the intention of crafting some slippers but it never happened so I figured I would do it this year.  I did try but it was one big FAIL. 
 
 
Not only was it difficult to sew the uppers to the sole because there was NO stretch, my son hated the feel of them.  One slipper turned out alright but definitely needed some snaps.  I got Milo to try it on and he wouldn't even walk in it.  He hated it, sigh.  The other slipper was a disaster from the start.  The sole was totally puckered after trying to join it with the upper and I gave in.  If Milo wouldn't wear them anyway I was not going to stress over it.  After photographic evidence of the disaster was recorded, these guys ended up in the garbage!

Saturday, October 6, 2012

{Gearing Up...}

...for Kids Clothes Week Challenge hosted by elsie marlie that begins in just 2 short days.  This is a great way to join in with other people all over the world who are committing to sew for their kids (or grandkids, nieces, nephews, neighbor's kid) for at least 1 hour a day for a week.
 
 
I've been gathering piles of fabric, contemplating patterns and making lists of all the wonderful things I would love to make for my kiddo (and his cousins).  I'm trying to use up some of my fabric stash and hope to only have to buy a few little things to complete my projects.  So far my list is:

*  2 Black Cat Halloween costumes for my nieces
*  Slippers for Milo  -- drafting my own pattern using guidance from this tutorial from Made By Rae
*  Wool trousers fully lined with knit for Milo-- probably Heartbreaker Pants pattern from Sewing For Boys with a few
     modifications
*  Faux fur hat and mittens lined with fleece for my niece -- still need to find or make a pattern


*  Gray Microfleece footie pajamas for Milo -- drafted my own pattern
*  Gray knit with monsters footie pajamas for Milo -- my pattern
*  Blue puppy flannel pajamas for Milo -- Goodnight Sweetheart pattern from Sewing For Boys
*  Cotton-backed satin pajamas for my niece -- still contemplating a pattern


*  Hooded jacket for Milo upcycled from Men's Hoodie and a flannel shirt -- drafting my own pattern

 
Well that's kind of big list for one week so maybe I should get started now :0)

Friday, September 14, 2012

{Pauley's Pullover}

The September installment of the Sewing For Boys sew-along is Pauley's Pullover. 
Perfect for Fall, which should be coming around soon...I hope.
 
This skill level on this pattern is labeled "beginner" and I definately agree.  I was able to whip this out in about an hour from start to finish.
 
 I am determined to get my stash of fabric down to a more manageable size so I pulled some fabric from the rather large pile and got started. 


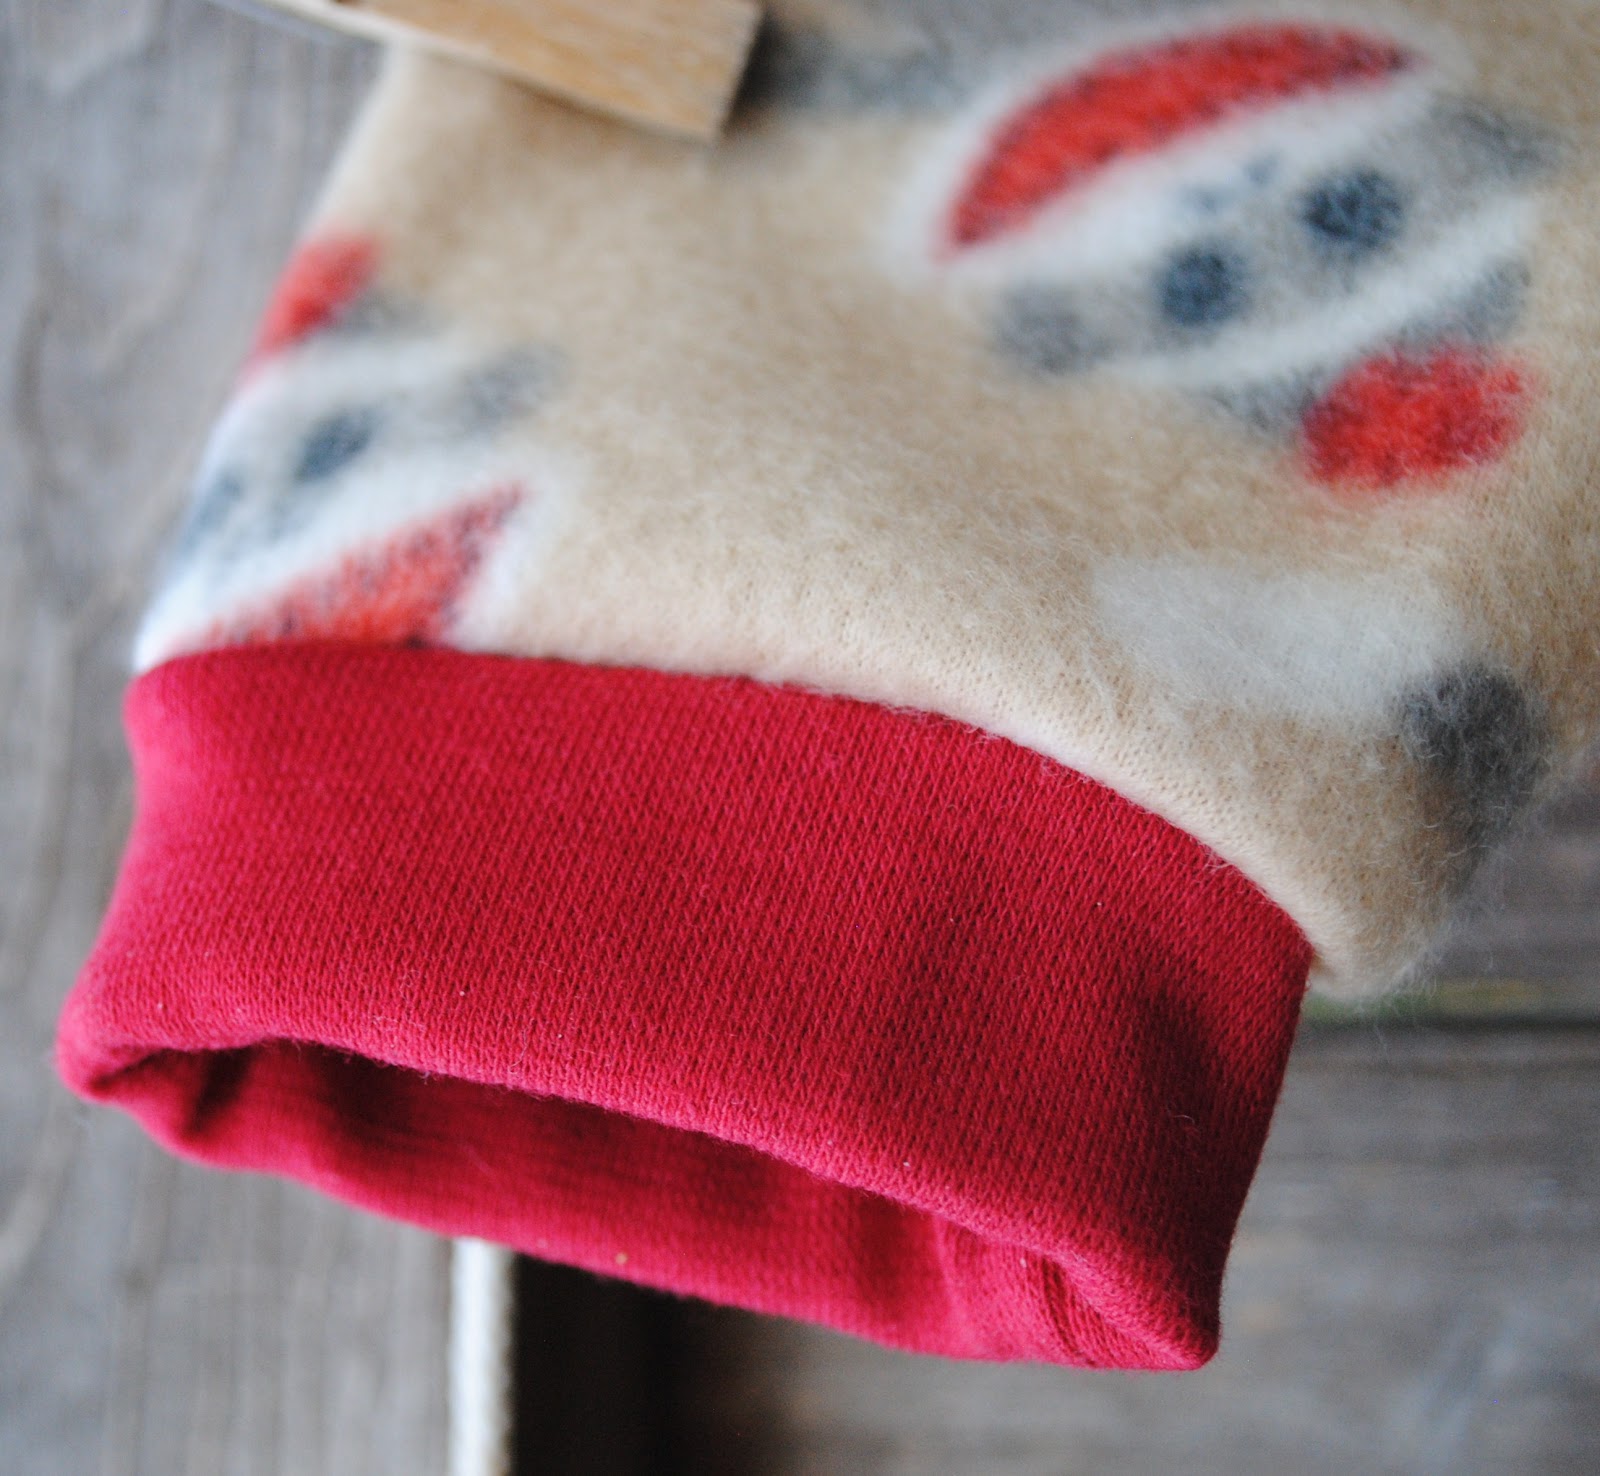
I found some soft and cute Sock Monkey fleece I had bought as a remnent.  It had a hole in it and was only 1/2 yard but the pattern called for 7/8 yard.  I traced out the pattern (size 2/3) and to my suprise I was able to get the front, back and both sleeves cut out even having to dodge the hole.  I also managed to get a little extra length on the front and back. 
 
 
For the neck band I used a red rib knit.  I enjoyed making the v-neck, it was much easier than I expected.  The only other things I have made with a v-neck are scrubs and it's a little trickier to get the point of the v to lay nicely.
 
Of course I had to change things up a bit.  Instead of making a casing and drawstring I added a 2 inch waist band made of red rib knit and inserted elastic in it.
 
 
This way I got a little more added length too. 
 
I did the same for the cuffs on the sleeves. 
 
 
I really like how it turned out and I can't wait for some cooler weather. 
I'm dreaming of playing in the falling leaves and visiting the pumpkin farm!


Wednesday, September 5, 2012

{A Boy & His Train}

If there is one thing that Milo loves more than elephants, it's trains.  We have no less than 7 different train sets in our house and at any given time at least one is spread out on the floor. 

As Milo's 6th birthday is approaching I realized that his toddler room was ready for a make-over.  He came home from the hospital at 16 months old to his "fishy" room.  SO now that he is a big boy in Kindergarten I figure it's time for a change.  Milo and I had a conversation and the decision was TRAINS.  He needs a room he can grow with so I don't want a little boy train room for him, we need a big kid train room.  No Thomas painted on the wall, no Chuggington bedspread.  I have some ideas but it's a work in progress.  I've started a train board on Pinterest, you can find it HERE if you are interested.

One thing I know I want is photographs of real trains and all things railroad.  Labor Day weekend would provide the perfect time and setting.  Last week I wandered into an Osh*Kosh store and found the little blue/white stripe engineer pants on sale and I could not resist.  Perfect for train pictures, now what to pair with them?  I first went toward the obvious red shirt but then had a different idea.  I dug through my box of knit and found the perfect fabric.

Mustard yellow and navy blue rib knit

I used the great Flashback Skinny Tee pattern from Made By Rae. 


I love this pattern, it so versitile.  I made the short sleeve version with contrast neck and sleeve bands for a ringer tee look.   For the hem I just surged around the bottom with yellow thread.  I added some navy fabric paint and a freezer stencil of a steam train engine.  Painting on the rib knit gave a great effect because when the fabric bends at the ribs some of the yellow shows through and gives it a more vintage-ish look. 


The perfect photo shoot outfit was complete.
 

On Saturday I grabbed Milo and Grandma and we went out for a little photo fun.  I found the perfect setting on the train tracks near the edge of town where the train crosses the Rio Grande River.  There also happens to be a train yard too.  I was able to get some great pictures of Milo and the train tracks to use in his big boy room.

 
After Milo's pictures were done he went with Grandma to throw rocks in the river while I ventured down to the train yard.  There may or may not have been a little trespassing going on :0)  I got some great pictures of all things train, from railroad tracks, to steam engines, to train axels, signs, and old rail road related buildings.